
What Is the Proper Way to Pack, Transport, and Store Large Advertising Inflatables Safely?
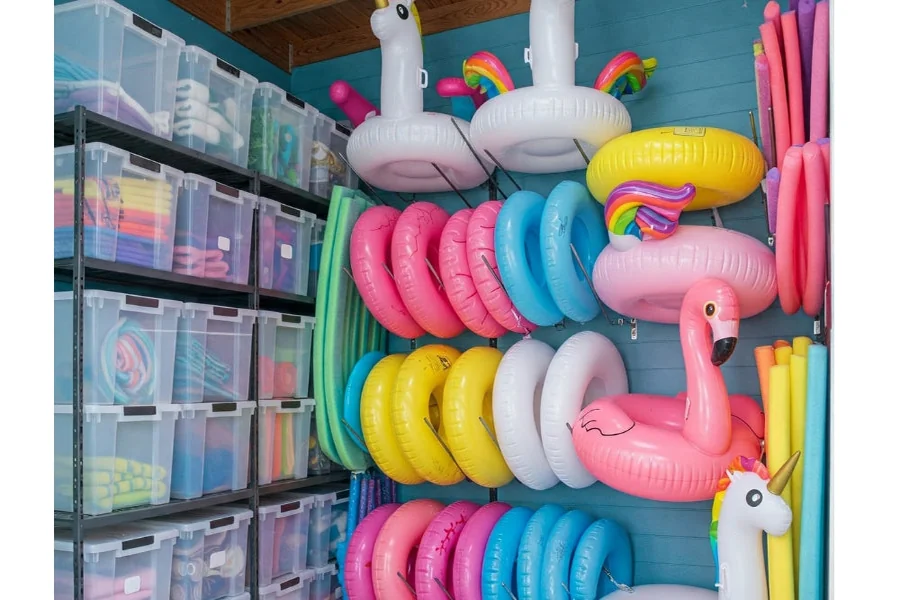
Large advertising inflatables represent a significant investment. A folded seam that isn’t done right, or one careless bump in the truck bed, can cost you torn fabric, broken hardware, and an inflatable sitting idle when you need it most. Getting your pack-and-store routine dialed in from the start protects that money.
This article takes you through each stage: deflation, folding, vehicle loading, and long-term storage. By the end, you’ll have a clear, practical checklist to follow every single time your inflatable comes down.
Why Proper Preparation Before Packing Matters
Proper maintenance is important for maximizing the lifespan of advertising inflatables, which are designed for repeated use. The way you handle them before packing directly determines their longevity. Skipping preparation is why many crews end up with cracked valves, scuffed printed panels, or mildew-covered fabric after just a single season. Whether you own a tube man, a 20-foot arch, or a giant branded character, these steps apply.
Full Deflation and Pre-Pack Inspection
Before folding anything, the inflatable needs to be completely empty. Partial deflation is one of the biggest mistakes people make. Residual air creates pressure points inside a folded unit; these stretch seams and stress heat-welded edges over time. Open every valve, including any additional release ports your model has, and let the blower run in reverse if that’s available. Then work the perimeter by hand, pressing any remaining air out from the far edges toward the valve.
Once fully flat, spend five minutes on inspection. Look for:
- Small punctures or pinholes along seam lines
- Scuffs or abrasions on printed panels
- Cracked or stiff valve housings
- Frayed tether attachment points
Finding damage before storage lets you repair it while the materials are accessible and the context is fresh. A pinhole caught now takes a patch kit five minutes; the same hole discovered at the next event could take hours to locate and fix under pressure.
Cleaning the Inflatable Before Folding
Fold a dirty inflatable, and you trap moisture, grit, and organic debris against the material for weeks or months. That combination breeds mildew, accelerates fabric breakdown, and degrades the print. Wipe the entire surface with a damp microfiber cloth and mild, non-solvent cleaner. Base panels and any areas that rested on grass or pavement need special attention.
Let it dry completely. This isn’t negotiable. A surface that feels dry might still hold enough residual moisture in seams and folds to start a mildew colony in storage. On a warm day, spread the inflatable flat in the sun for 20 to 30 minutes after wiping. In cold or humid conditions, move it indoors and let it air dry for at least an hour before you start folding.
How to Fold Large Inflatables Without Damaging the Material
Folding correctly keeps the printed graphics sharp, prevents fold-line creases from becoming permanent marks, and makes repacking easier next time around.
The Rolling Method vs. Panel Folding
Two approaches work for large units. Rolling works best for tube men, tall character inflatables, and banner-style pieces. Start at the far end of the valve and roll the fabric tightly toward the valve opening, pushing out any last air as you go. Secure the roll with the included straps or hook-and-loop ties before sliding it into the carry bag.
Panel folding suits wider, flat structures, archways, large branded bases, and similar pieces. Fold the unit in thirds lengthwise first; then accordion-fold from one end to the other in 18-to-24-inch sections. Try not to fold directly over a printed face. Instead, fold so that printed surfaces face inward and rest against other fabric rather than pressing against themselves under force. That one adjustment can add years to print quality.
Protecting Valves, Blowers, and Hardware
Valves and blower attachment collars are the most mechanically stressed points. Wrap each valve in soft cloth or foam before folding the material around it. Never crease directly through a valve housing; the rigid housing will puncture adjacent fabric over repeated compression cycles.
Detach the blower motor before packing and store it separately in its own padded bag. Coil the power cord loosely, no tight loops, to preserve the internal wiring. Tether stakes, ground anchors, and metal hardware go into a separate zippered pouch inside the carry bag. Don’t leave them loose alongside the inflatable fabric; sharp edges will abrade the material during transport.
Packing the Inflatable Securely for Transport
A properly folded inflatable still needs correct securing inside its bag and inside the vehicle to arrive undamaged.
Choosing the Right Carry Bag or Container
Most commercial inflatables ship with a nylon carry bag. If yours is still in good condition, use it. The bag is sized for that unit and provides the right compression without overstressing seams. If you’ve lost the original bag or it’s damaged, replace it with a canvas or heavy-duty nylon duffel of the right volume, then add a layer of bubble wrap or foam padding around the rolled unit before inserting. Skip garbage bags or thin plastic sheeting; they trap moisture and offer zero abrasion protection.
For very large inflatables, 20 feet and above, a hard-shell plastic tote or custom wooden crate keeps shape better during long-distance transport. Line the interior with closed-cell foam; make sure the lid closure doesn’t press directly on the inflatable surface with concentrated force.
Loading Into the Vehicle
Place the inflatable bag flat, not upright. Stacking other cargo on top is fine as long as that cargo is soft and lightweight. Heavy toolboxes, equipment cases, or metal hardware shouldn’t sit directly on the bag. In a cargo van or box truck, use tie-down straps through the bag’s handles to prevent sliding during hard braking. In a standard SUV or pickup, place the bag first, then pack soft items around it to prevent lateral movement. And temperature matters: never leave a packed inflatable in a vehicle during extreme heat (above 100°F) for extended periods, as sustained heat accelerates fabric degradation and weakens adhesive seam bonds.
Long-Term Storage Guidelines
The right way to pack, transport, and store large advertising inflatables safely doesn’t end at the event. Where and how you store them between uses matters just as much as handling on event day.
Ideal Storage Conditions
Store inflatables in a cool, dry, and dark space. Target temperature is 50°F to 75°F, with relative humidity below 60%. Climate-controlled basements work; garages in regions with extreme summer heat or winter cold don’t, unless you add climate control. UV light degrades printed fabric even in storage, so keep bags away from windows or fluorescent fixtures that stay on all day. A shelving unit keeps the bag off the floor and away from ground moisture.
Periodic Inspection During Storage
Don’t pack an inflatable away and forget it for six months. Every four to six weeks, open the bag and partially unroll or unfold the unit to check for:
- Mildew spots or musty odor
- New cracks in valve housings from temperature changes
- Pest damage, especially in warehouse or garage storage
- Any adhesive failure along seam lines
A small mildew patch caught early means a targeted cleaning; caught after six months, it can mean irreparable print damage across a large section. Rotate the fold orientation slightly each time you repack so the same fabric lines don’t take repeated creasing stress in identical spots.
Conclusion
The proper way to pack, transport, and store large advertising inflatables safely comes down to a consistent process: full deflation, thorough cleaning, correct folding, protected hardware, secure vehicle loading, and climate-appropriate storage with periodic check-ins. Each step strengthens the others. Miss one, and the rest of your care loses much of its impact. Follow them consistently, and your inflatables will be ready to perform, looking sharp, at every event for years to come.